Table Of Contents
Step-by-Step Installation Process
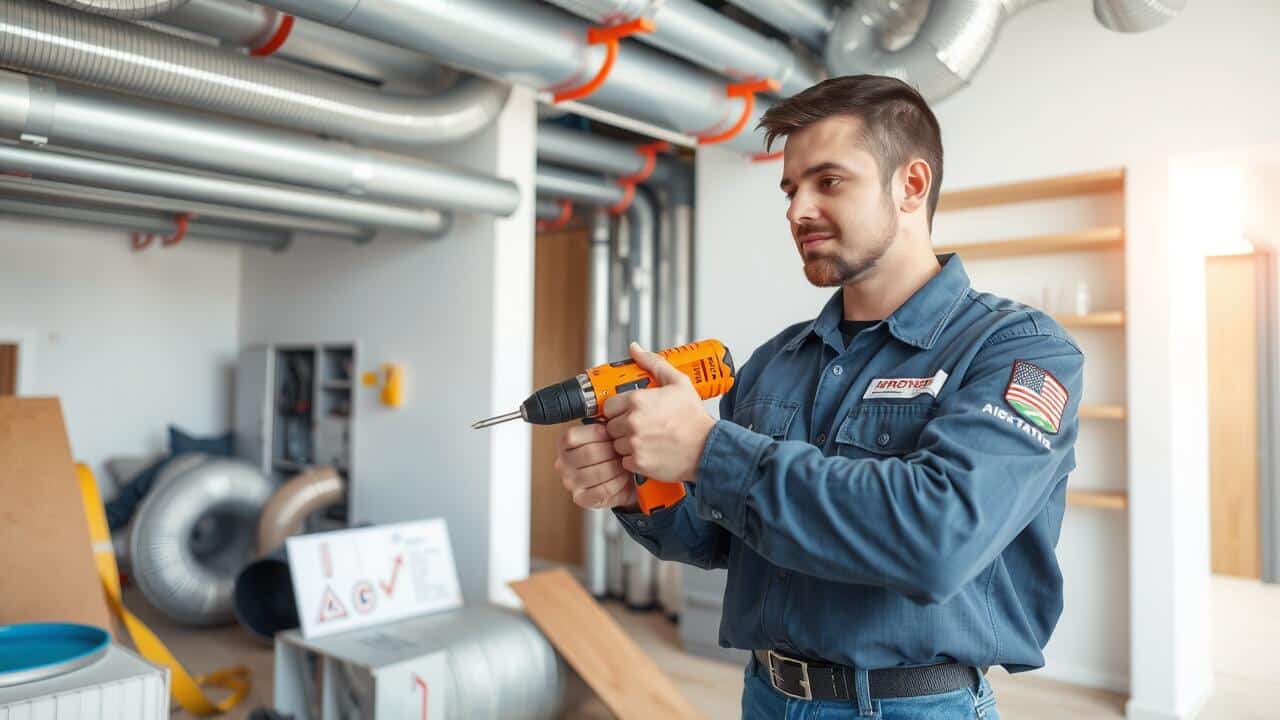
Air duct installation begins with careful planning and measurement. Start by determining the layout of your duct system based on the size and design of your space. It’s crucial to choose the right materials, typically galvanized steel or flexible ducting, depending on your needs. Measure the lengths of ductwork needed for each segment and ensure that you account for any bends or transitions. Having accurate measurements will help minimize waste and improve system efficiency.
Once you have your materials ready, begin assembling the ducts according to your pre-planned layout. Use a combination of duct tape and metal screws to secure the joints, ensuring that the connections are airtight. Hang the ducts with proper support to prevent sagging and noise. After installing the ductwork, check for any leaks by performing a basic pressure test or using smoke to identify gaps. Proper sealing and support will enhance the effectiveness of the air circulation throughout your home.
Basic Steps to Follow
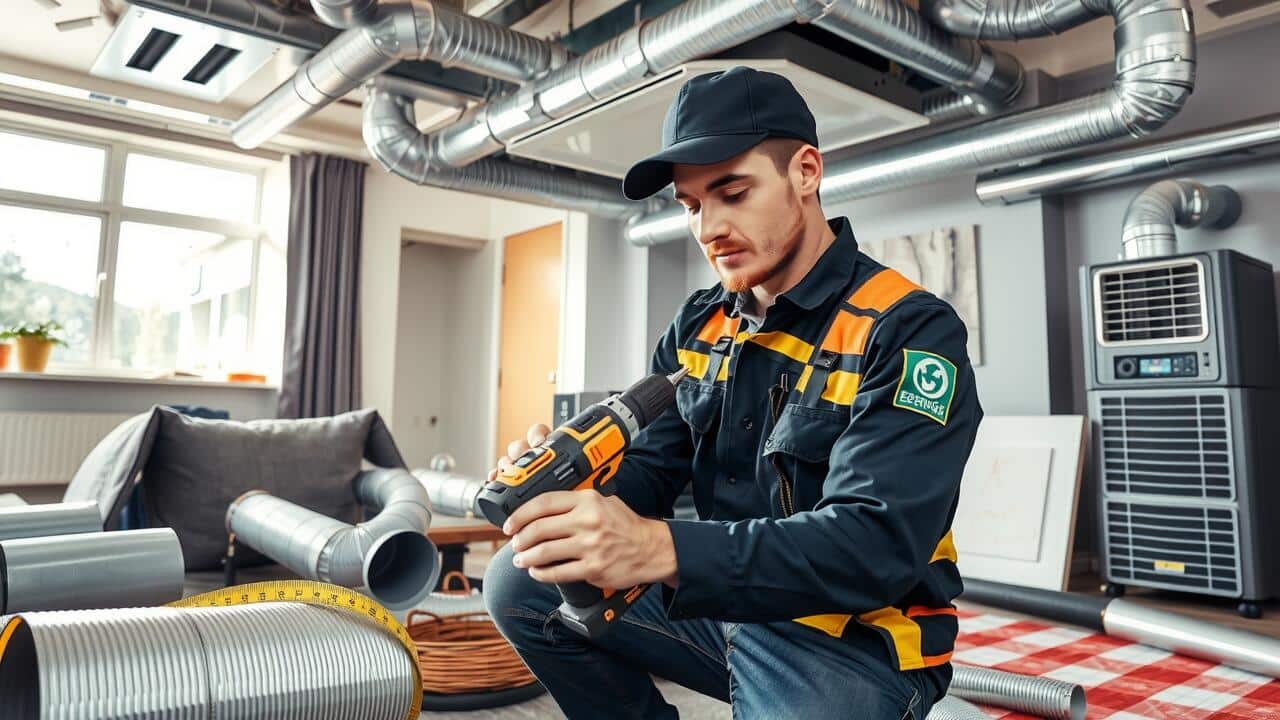
Begin the Air Duct Installation process by carefully planning the layout. Measure the space where the ducts will be installed, keeping in mind the location of vents and other necessary components. Create a detailed diagram to visualize the route and ensure that everything fits appropriately. Selecting the right materials is crucial; opt for ductwork that meets the necessary standards for insulation and airflow.
Once the materials are ready, cut the ducts according to your measurements. Use tools appropriate for the job, like tin snips for metal ducts or a utility knife for flexible ones. Secure the duct pieces together using appropriate connectors, ensuring a tight fit to minimize air leaks. Insulating the ducts will enhance energy efficiency and maintain the desired temperature throughout your home.
Common Mistakes to Avoid
Installing ductwork can be a straightforward task, but several common mistakes can hinder the effectiveness of your air duct installation. One frequent error is miscalculating the size of ducts needed for the space. Insufficient sizing may lead to restricted airflow, resulting in uneven heating or cooling throughout your home. On the other hand, ducts that are too large can create unnecessary pressure drops and increase energy consumption.
Another mistake often made during air duct installation is improper sealing of joints and seams. Gaps or poorly sealed connections can cause air leaks, which diminishes system efficiency and drives up utility bills. Additionally, neglecting to consider the layout and routing can lead to bends and turns that restrict airflow. Prioritizing these details during installation can greatly enhance the performance of your HVAC system.
Pitfalls in Ductwork Installation
One major pitfall in air duct installation is improper sizing of the ducts. When ducts are too small, they restrict airflow, leading to inadequate heating or cooling throughout the space. Conversely, oversized ducts can result in wasted energy and inefficient system operation. Assessing the required duct size is crucial to ensuring that the system functions optimally. Utilizing manual J calculations or consulting with professionals can help avoid these sizing issues.
Another common mistake is poor sealing and insulation of the ductwork. Leaks can significantly reduce system efficiency and make your heating or cooling system work harder than needed. Insufficient insulation may lead to energy loss, especially in unconditioned spaces like attics or crawl spaces. Ensuring all joints are properly sealed and that ducts are insulated in vulnerable areas will enhance overall performance and energy savings.
Post-Installation Inspection
After completing the air duct installation, it is crucial to conduct a thorough inspection. Check all connections and joints to ensure they are properly sealed, preventing any leaks that could hinder the system’s efficiency. Inspect the alignment and support of the ducts as well, confirming that they are positioned correctly without any dips or bends that could restrict airflow.
Next, it’s essential to test the entire system. Turn on your heating and cooling systems and monitor airflow from each vent. Listen for any unusual noises that may indicate issues with installation. A well-installed air duct system should operate quietly and efficiently, so verifying function after installation helps ensure long-term performance and comfort in your space.
Ensuring System Efficiency
Ensuring system efficiency after completing your air duct installation is crucial for optimal performance. Proper sealing of all joints and connections can significantly reduce air leaks, which in turn improves energy efficiency. Take the time to inspect each segment of ductwork. Use mastic sealant or metal tape, as these materials are more reliable than traditional duct tape.
Regular maintenance also plays a key role in sustaining system efficiency. Periodically check for blockages and clean the ducts to prevent dust accumulation. Scheduling routine inspections can help identify any issues before they escalate into larger problems. By prioritizing these steps, your air duct installation will operate effectively and provide consistent comfort throughout your space.
FAQS
Can I install ductwork myself, or should I hire a professional?
While it is possible to install ductwork yourself if you have the necessary skills and tools, hiring a professional is generally recommended to ensure proper installation and to avoid potential issues.
What tools do I need to install ductwork?
Common tools needed for ductwork installation include sheet metal snips, a drill, screws, measuring tape, a level, and duct tape or mastic sealant.
How long does it take to install ductwork?
The time required for ductwork installation can vary depending on the complexity of the system and your experience level, but it typically takes anywhere from a few hours to a few days.
What are some common mistakes to avoid when installing ductwork?
Common mistakes include improper sizing of ducts, incorrect sealing of joints, neglecting to support the ductwork adequately, and failing to consider airflow patterns.
How can I ensure my ductwork system is efficient after installation?
To ensure efficiency, conduct a post-installation inspection, check for leaks, confirm proper sealing, and balance the system to optimize airflow throughout your home.