Table Of Contents
Inspecting and Cleaning the Coils
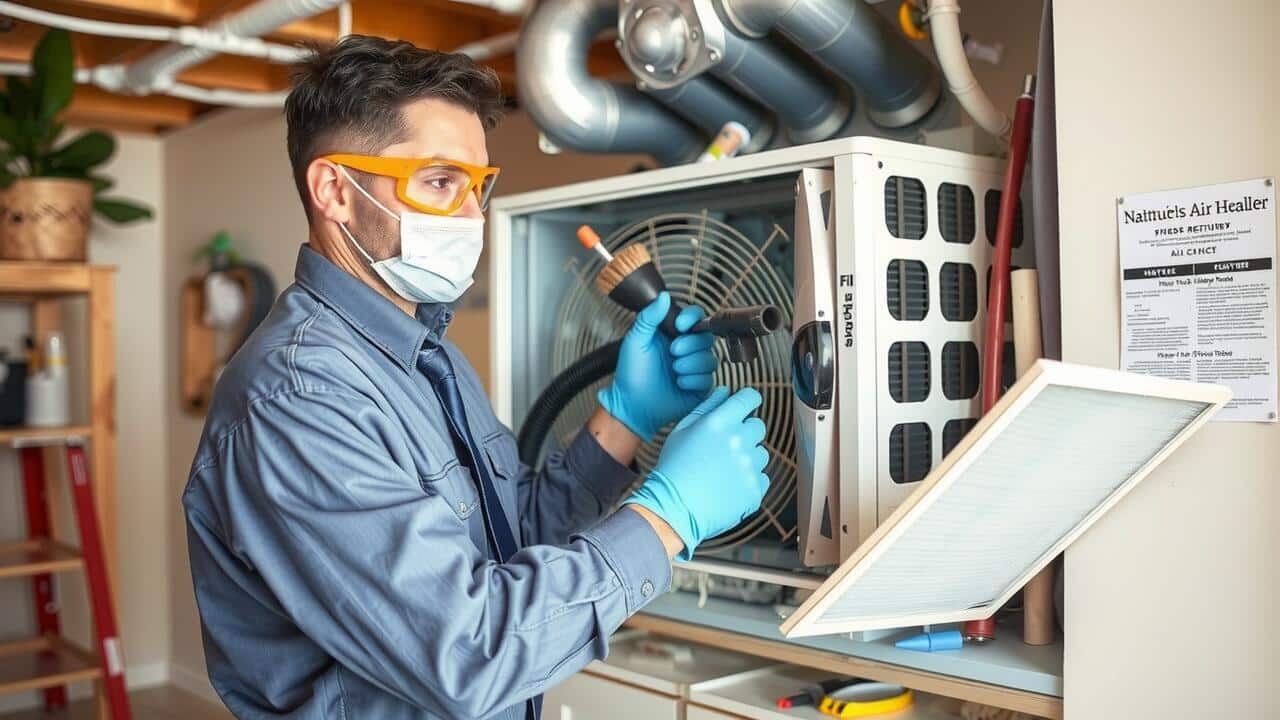
Inspecting and cleaning the coils of your air handler is a crucial step in maintaining its efficiency and longevity. Accumulated dirt and debris can hinder heat transfer, leading to decreased performance. Start by turning off the power to the unit. Use a soft brush or vacuum to remove loose dirt. For a more thorough Air Handler Cleaning, a coil cleaning solution designed specifically for this purpose can be applied. This will ensure that any stubborn grime is effectively removed, enhancing the unit’s overall functionality.
Once the cleaning process is complete, it is essential to visually inspect the coils for any signs of damage or corrosion. Look for bent fins or any physical obstructions that may have accumulated over time. Straightening bent fins can improve airflow, which is vital for optimal performance. Regular air handler maintenance that includes coil inspections can prevent serious issues down the line, saving you both time and potential repair costs. Always remember to check the manufacturer’s instructions for specific cleaning recommendations tailored to your air handler model.
Techniques for Effective Coil Maintenance
When performing air handler cleaning, it is essential to approach the coils with care. Begin by turning off the power to the unit to ensure safety. Use a soft brush or vacuum cleaner attachment to gently remove any dust and debris from the coil surface. Avoid using abrasive materials that can damage the fins. Clearing the coils of dirt and grime helps maintain optimal airflow and improves overall efficiency.
After the initial cleaning, consider applying a specialized coil cleaner. This liquid solution is designed to break down stubborn residues without harming the metal within the coils. Rinse the coils thoroughly with water to remove any remnants of the cleaner. Regular maintenance, including periodic inspections, fosters a longer lifespan for the air handler and ensures it operates at peak performance.
Checking the Drain Pan and Line
The drain pan and line are essential components in the operation of an air handler. Over time, debris and algae can accumulate, leading to clogs and potential overflow. Regular maintenance involves inspecting the drain pan for any signs of standing water, as this can indicate an obstruction. Cleaning the drain line with a mixture of vinegar and water can effectively help to remove buildup and keep the system running smoothly. Ensuring these components are clear prevents water damage that could affect both the air handler and your living space.
During the air handler cleaning process, it is crucial to check for any signs of leakage around the drain pan. A damaged drain pan may not only cause water to overflow but can also lead to mold and mildew growth, posing health risks. Inspecting the joints and connections of the drain line can reveal potential issues that might disrupt the drainage flow. Taking immediate action to clean and repair any identified problems will enhance the efficiency of the air handler and prolong its lifespan.
Avoiding Water Damage in Your System
Regular maintenance of the drain pan and line in your air handler is essential to prevent water damage. The drain pan collects condensation that forms during the cooling process. If it becomes clogged or damaged, water can overflow and leak into your system, potentially causing costly repairs and mold growth. During your routine Air Handler Cleaning, inspect the drain pan for cracks or rust and ensure that the drain line is free from blockages.
To further avoid water damage, it’s important to keep an eye on the humidity levels in your space. Excess moisture can strain your air handler and increase the likelihood of condensation issues. If you notice signs of water accumulation or leaks, address them promptly. Regular Air Handler Cleaning helps maintain proper drainage and airflow, contributing to the system’s overall efficiency and longevity.
Testing Electrical Components
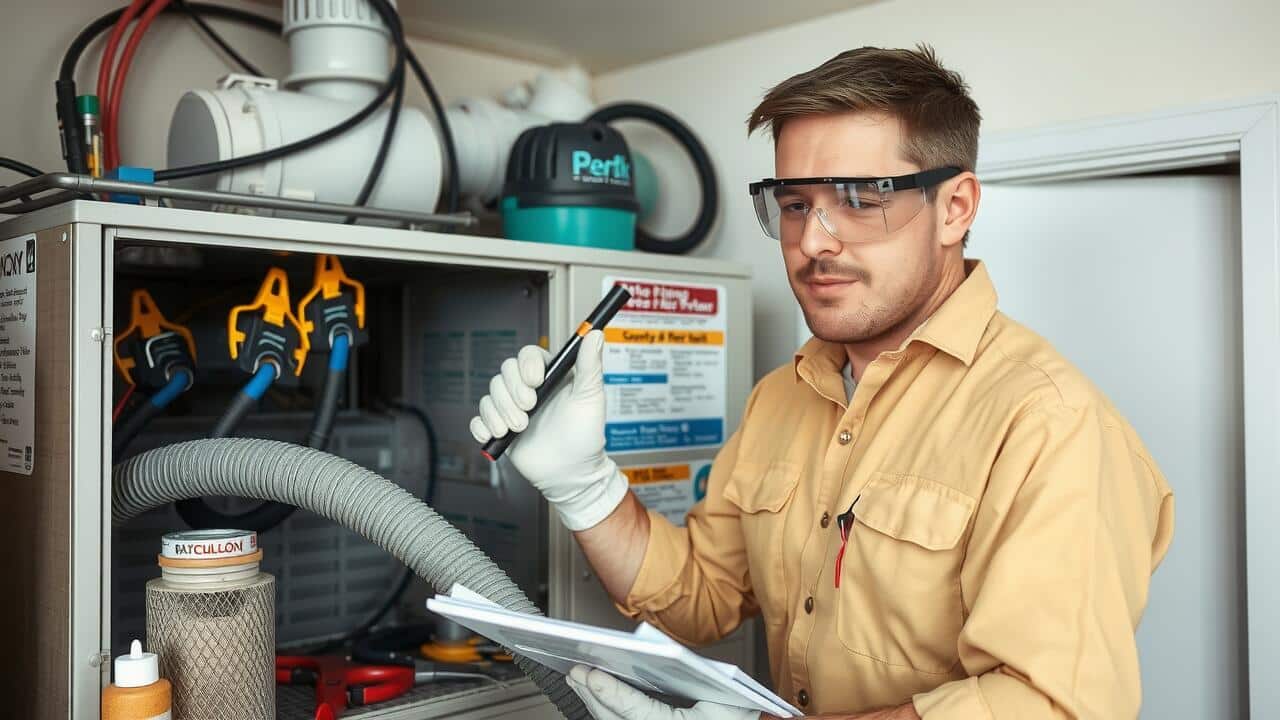
Regularly testing the electrical components of your air handler is essential for maintaining its efficiency and safety. Begin by examining the wiring for any signs of wear or damage. Frayed wires or loose connections can lead to malfunctions and pose fire hazards. Ensure all connections are tight and free of corrosion. Use a multimeter to check voltage levels, confirming that the electrical supply is consistent and within specifications. This step helps to prevent unexpected breakdowns and prolongs the life of your system.
In addition to checking the wiring, inspect the relays and capacitors for proper functionality. A faulty relay can disrupt the operation of your air handler, leading to inefficient cooling or heating. Testing these components during your Air Handler Cleaning routine ensures that any potential issues are identified early. Regular maintenance not only enhances performance but also improves energy efficiency, leading to lower utility bills. Keeping electrical components in check is a crucial aspect of overall air handler servicing.
Ensuring Reliable Connections and Functionality
Regularly testing the electrical components of your air handler ensures reliable connections and functionality. Begin by inspecting all wiring for signs of wear or damage. Look for frayed insulation and loose connections. Use a multimeter to check voltage and continuity in circuits. This step helps to identify potential issues that may impact performance.
Incorporating Air Handler Cleaning into your routine maintenance can enhance the lifespan of these electrical components. Dust and debris can accumulate on connections, leading to inefficiencies or failures. Cleaning the area around electrical components reduces the risk of overheating and electrical short circuits. Perform this cleaning with care and ensure that power to the unit is turned off before starting.
FAQS
How often should I service my air handler?
It is recommended to service your air handler at least once a year, ideally before the cooling or heating season begins, to ensure optimal performance.
What tools do I need to service my air handler?
Basic tools include a screwdriver set, a multimeter for electrical testing, a vacuum for cleaning, and a soft brush for coil maintenance. Depending on the specific tasks, you may need additional tools.
Can I service my air handler myself, or should I hire a professional?
While some maintenance tasks can be done by homeowners, such as cleaning coils and checking the drain pan, it is advisable to hire a professional for more complex inspections and electrical component testing.
What are the signs that my air handler needs servicing?
Common signs include reduced airflow, unusual noises, water leaks, or an increase in energy bills. If you notice any of these issues, it’s best to inspect or service your air handler.
What should I do if I find mold in my air handler?
If you find mold, it’s important to clean it immediately using a mixture of water and vinegar or a specialized cleaner. If the infestation is severe, it’s advisable to contact a professional to assess and remediate the issue.